Install & Setup Tailwind CSS 2.0 with Angular 11

I am a Full Stack Web Developer and Tech Educator from India. I create courses, write eBooks, publish tutorials on Youtube and give Tech talks.
If you are here, you must have already heard about the amazing CSS framework TailwindCSS and you wish to learn how to install it in your Angular app, latest version (11.1.1 as of writing this).
So let's get started.
Create Angular App
I'm assuming you already have Angular CLI globally installed. If not, you need to first install using this command
npm install -g @angular/cli
Then use the below command to create a new Angular project 'angular-app'
ng new angular-app
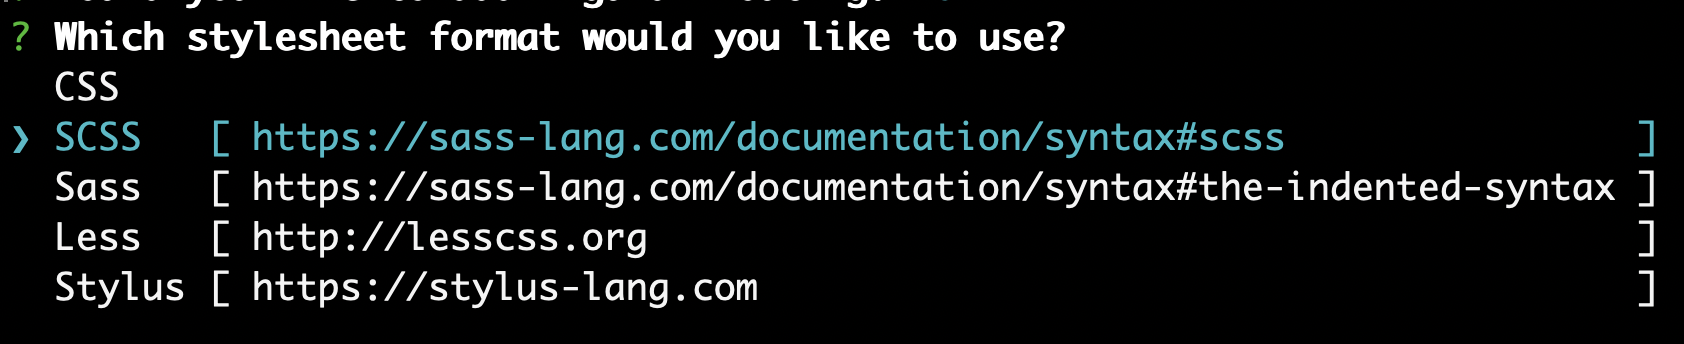
When you are asked "Which stylesheet format would you like to use?", choose SCSS and create the project
Install & Setup Tailwind CSS
Open your project in VS Code, and open the terminal within that. Install Tailwind CSS and other required dependencies using
npm install -D tailwindcss autoprefixer postcss-import postcss-loader postcss-scss @angular-builders/custom-webpack
Go to your src > styles.scss file and add the following styles
@import 'tailwindcss/base';
@import 'tailwindcss/components';
@import 'tailwindcss/utilities';
Create the Tailwind cofiguration file using.
npx tailwindcss init
This creates tailwind.config.js with default options in the project root. We will make edits to this, a little later.
Now, manually create a file webpack.config.js at the project root, and paste the below content
module.exports = {
  module: {
    rules: [
      {
        test: /\.scss$/,
        loader: "postcss-loader",
        options: {
          postcssOptions: {
            ident: "postcss",
            syntax: "postcss-scss",
            plugins: [
              require("postcss-import"),
              require("tailwindcss"),
              require("autoprefixer"),
            ],
          },
        },
      },
    ],
  },
};
Now that we have our custom webpack configuration, we need to modify angular.json file, using the following commands. Replace angular-app with your project name
ng config projects.angular-app.architect.build.builder @angular-builders/custom-webpack:browser
ng config projects.angular-app.architect.build.options.customWebpackConfig.path webpack.config.js
ng config projects.angular-app.architect.serve.builder @angular-builders/custom-webpack:dev-server
That's it! Tailwind CSS is successfully setup.
Use Tailwind CSS
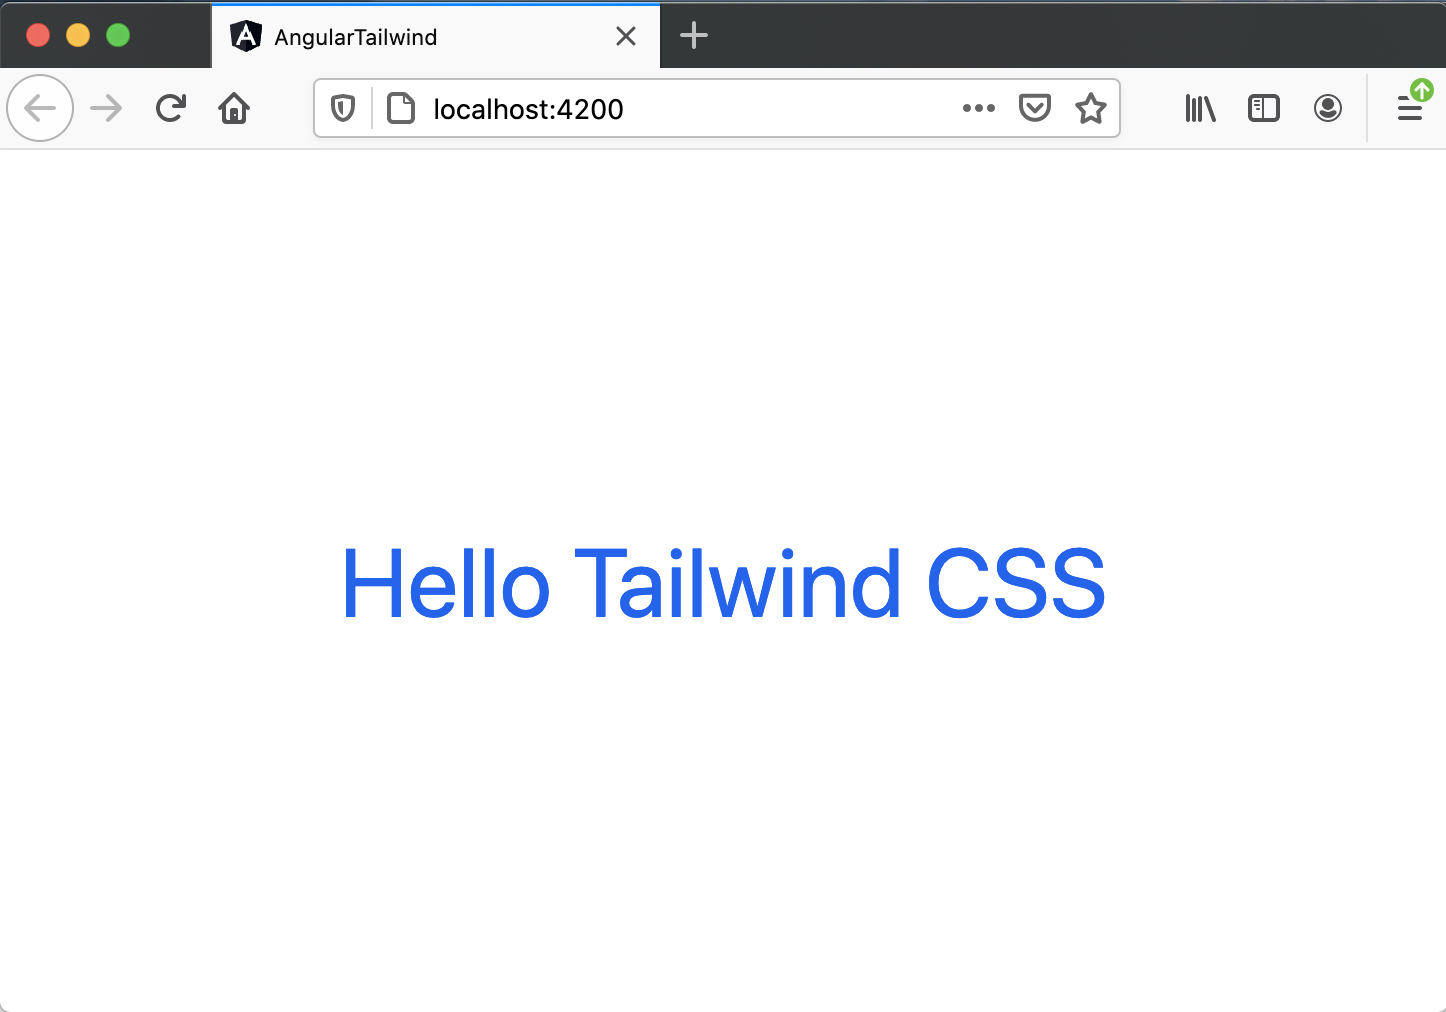
Remove all existing code within app > app.component.html and create a simple heading centered on the page with this code
<div class="w-full h-screen flex justify-center items-center">
  <h1 class="text-5xl text-blue-600 text-bold">Hello Tailwind CSS</h1>
</div>
Now get your app running using
ng serve
If everything worked fine, you should be able to see this on your browser (usually http://localhost:4200)
Optimizing for Production
Now when you build your Angular app for production using
npm run build --prod
you will notice that the styles.css generated by Tailwind CSS is a huge 4.29MB!

This is an easy fix. Go to tailwind.config.js in your project root and replace the below line
purge: [],
with
purge: {
    enabled: true,
    content: ['./src/**/*.html', './src/**/*.ts']
  },
This will help Tailwind know the paths of files where all utility classes are used, so that it can remove the unused one and you end up with a very small CSS file.
Now try
npm run build --prod
You will notice that the styles.css now is just about 9.93kB

Congratulations! You are now ready to use TailwindCSS to build amazing Angular apps. Check out my Youtube Playlist for some examples using this framework.


